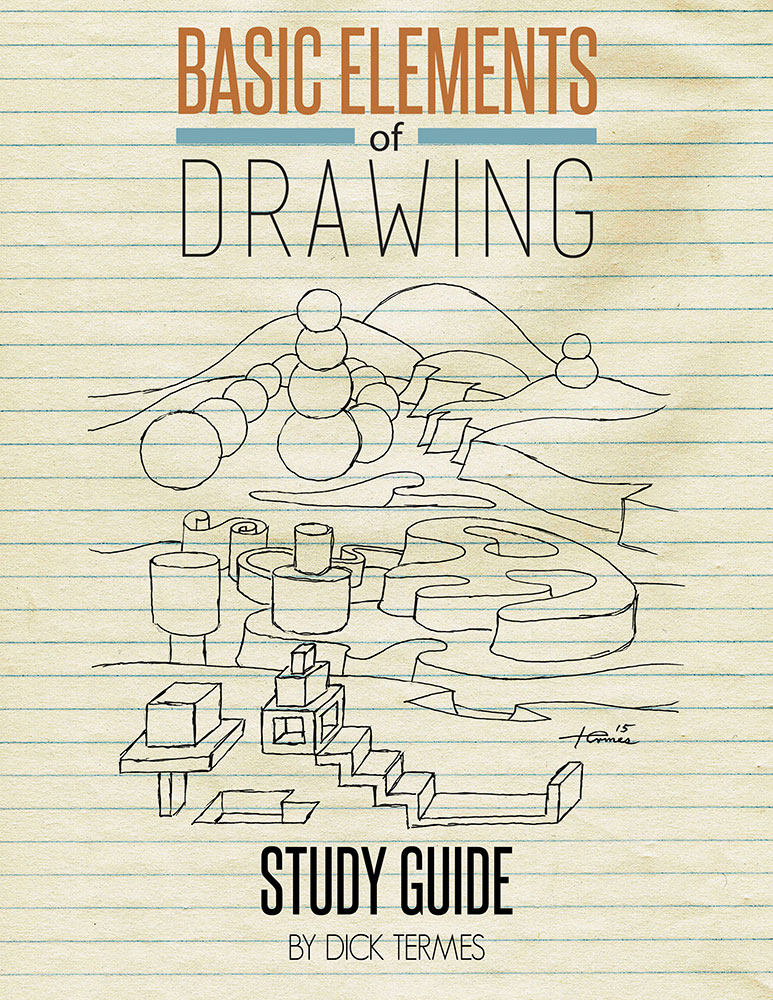
 Welcome to Basic Elements of Drawing! Over the course of this video and with the help of this study guide you will fast be on your way to the world of comprehensive drawing. This is a drawing course for everyone! Whether you are just beginning or want to perfect your drawing skills, this simple and direct approach will vastly improve your drawing ability. Remember to stop the DVD often and complete all of the exercises. Explore, experiment, and practice.
Use your eraser often, but most of all, HAVE FUN!
What You’ll Need:
- White or kneaded eraser
- Soft lead pencils 2B-8B
- Copy or drawing paper
- Grids (Can be printed from this PDF)
Grids to be used under copy paper to keep lines straight
Introduction:
- Gather Supplies
- Start DVD
- Watch the introduction in Basic Elements of Drawing
- Let’s Get Started!
Basic Shapes:
Cubes
- Place the grid under a sheet of copy paper. The grid should be visible through the copy paper. Begin by practicing drawing cubes on the copy paper. The lines of the grid will help you draw straight and perpendicular lines on your copy paper.
- Follow along with the DVD to learn the basic layout of the cube. Practice until you are comfortable drawing the cube with or without the grid to guide you. Use the eraser to eliminate the lines you no longer need.
- Now let’s try varying the sizes and adding cubes to cubes. Build towers of cubes and walls of cubes of all different sizes. Erase and clean up your drawing.
- Once you have a firm grasp on varying the sizes of cubes, let’s practice subtracting cubes from cubes. This is how you can show doors, windows, rooms, etc.
- Use both adding and subtracting from the cube and make a full creative composition of your own.
Cylinders
- Practice drawing cylinders. Make some tall and skinny, short, and stout, etc. Draw two cylinders, one that you are looking up at and the other as if you were looking slightly down.
- Add cylinders onto other cylinders. Make a smaller cylinder that connects to the side of a larger, short cylinder. Repeat this progress several times to make a wagon wheel. Use dotted lines to stay on track. Be sure to erase the dotted lines once completed.
- Practice subtracting cylinders from cylinders. Cut a hole in the top of the cylinder. Add windows to the curved part of the cylinder. Cut cylinder in half. Try subtracting shapes.
- Create a composition that uses the adding and subtracting cylinder ideas.
Spheres
- Start with a circle. Then stack them to make spheres. Stack them one way, then the other. Try drawing a pearl necklace.
- Practice drawing half a sphere. Now practice drawing fourths of spheres. Think orange slices!
- Draw a bowl shape and remember to allow for the thickness of the bowl to show.
- Now draw rectangular windows in a sphere. Try to draw circular windows in the sphere.
- Experiment by adding and subtracting shapes to the sphere and make a creative composition.
Realism Using Basic Shapes
Cubes
- Review adding and subtracting to the cube.
- Draw a building. Add towers, windows dormers, etc.
- Draw a cubical landscape. Use your imagination and go wild.
- Draw 5 realistic cubes shapes objects
- Examples: Presents, picture frames, cell phones, televisions.
Cylinders
- Review adding and subtracting to the cylinder.
- Build cylinder buildings. Add and subtract cylinders to add detail.
- Build a cylinder landscape. Really expand your landscape.
- Draw 5 realistic cylinder shapes
- Examples: Drinking glass, candles, soda can, mugs
Spheres
- Review adding and subtracting from the sphere
- Draw spherical vessels and vases
- Draw a spherical landscape or fun composition with variations of spheres.
- Draw 5 realistic sphere shapes
- Examples: Basketball, bowl, orange slices, Christmas ornaments
Combining Basic Shapes
- Practice stacking the cube, cylinder, and sphere together. Make sure they are stacked in the center of each other to begin with.
- Combine several shapes. Keep the axis organized to keep your drawing straight. Add dotted lines to stay organized Erase the dotted lines once complete.
- Now let’s use of the shapes in combination to build a car! Remember, you simply combining the various shape to create one recognizable image.
Contour Surface Lines
- Draw contour surface lines on each of the basic shapes. Spend time on each so that you understand how the lines flow over the surfaces.
- Stack or combine shapes and add contour surface lines to create a flowing form.
- Draw a realistic form (such as a creative animal). Add contour lines to add realism to your drawing.
- Practice drawing a hand, human form or tree with just contour lines, no outside lines.
Shading
Cube
- Study this section carefully. Shading lets you know where the light source is in comparison to the object. Use shading to create a line; dark on one side and light on the other side.
- Shade a cube with a dark side–away from the light source and a light side– the surface pointing to the light and a changing third side.
- Every line of the cube in the end should have a dark and light side.
- The strokes should use the direction of the contour surface lines.
Cylinder
- Draw and shade a cylinder. One side should be dark which gradually changes to white. The background of the white side is dark which blends off into the background. The top varies from dark to light depending on the background. The contour of the stroke will be horizontal for a solid surface and vertical for a hole in the top.
- Draw and shade a curved wall with the sun in the left corner. Draw and shade a second wall with the sun in the right corner.
Sphere
- Draw a circle. Add a light source to the top left. Turn the circle into a sphere with shading. Use contour surface lines. The darks are the furthest away from the light source. Use a gradual progression of dark to pure white. The dark background brings out the light side of the sphere. The dark background goes from very dark against the edge of the sphere and progressively goes outward to pure white.
Take your time, erase all extra lines and have a blast!
Final Composition
Now use all of this knowledge and create a Final Composition. Use all of the tools and skills you have learned over the course of the video and compose a full scene. You can use your imagination to create a whole world or simply draw the room you currently find yourself. Have fun with it and give yourself permission to play. That is very important. Don’t be afraid to make mistakes. That’s why they invented erasers!
Thank you for your efforts and good luck on your journey into the world of drawing!